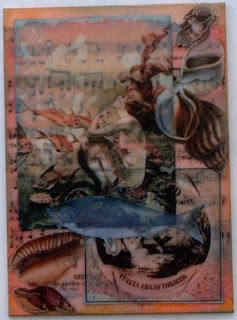
Sheila C is hosting a beeswax swap on the DoCrafts forum, and as I've never used beeswax at all before, I thought this would be a good chance to experiment. After a shaky start, (I looked everywhere for beeswax and couldn't find any, then discovered I already had some in a candle making kit), these are what I came up with. I haven't got a melting pot (which I am assured makes working with beeswax really easy), so I had to make do with a bowl of boiling water and one of my trusty pie tins. I started with the mermaid collage, which I did by firstly inking various bits to match the coral and blue colours in the main image and then painting the beeswax directly onto the card and sticking down the various images, adding more beeswax in between each layer. I then used my encaustic iron to flatten down any sticky-up bits. I did wonder if maybe I should have started this again (the pictures come off really easily when you iron them) as I don't think I used quite enough wax and there are a few bubbles, but then I decided to leave it as I quite like the distressed effect this gives.

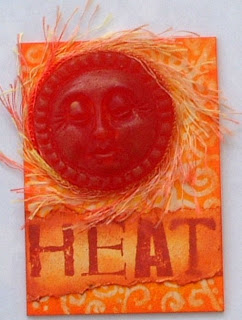
Being an unconventional kind of person, I couldn't JUST do collage with my beeswax, so the next one I did is this Heat ATC. I created the background by painting the swirls on in beeswax then inking it. Then I put a piece of paper over the top and ironed off the excess wax with my encaustic iron (like an emboss resist background but using painted beeswax instead). I then created the sun by colouring some beeswax with candle dye and pouring it into a mould. It doesn't show up well in the photo but I've added a little bit of metallic rub-on over the top to highlight the features. I added the fibres around the edges to represent the sun's rays and the word heat which is stamped on a separate piece of card and inked.

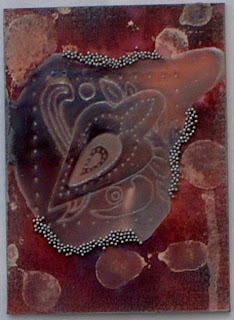
For the third one, I decided to experiment again, and this time I coloured some beeswax with candle dye and poured it onto the card then stamped the image into it in silver ink. I then splattered a few more bits of beeswax on and peeled them off when they were almost dry to create a resist effect on the background. I inked the whole of the background using distress inks in colours to co-ordinate with the wax, added some silver metallic rub-on around the edges and a few micro beads to accentuate the stamped wax.

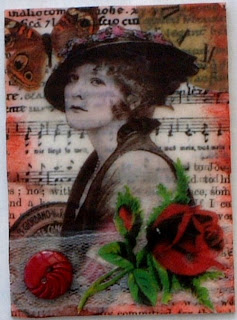
Next, I decided on another collage as I thought I could improve on the first one. I coloured edges of the background pieces with ink before I started then did the collage as before but this time using more wax. i also added the lace and a button which I stuck down with the beeswax. (The button fell off and I had to stick it back on, but I AM new to this and it seems I was a bit stingy with the wax again).

Finally I decided to do another one using the wax in moulds. Again I coloured the wax with candle dye and poured it into the moulds. I probably should have used beeswax for the background as well, but I didn't on this one. The background is created using distress inks, tissue paper and Mod Poge with a bit of Cosmic Shimmer spray and some gold rub-on around the edges. I used micro beads for the hair.
These were all great fun to do, but I think there's perhaps room for improvement!
2 comments:
You have been very busy! I love the way you have used the wax. Dee x
holly craps these are totally awesome
Post a Comment